How to transfer an Airtel eSIM from one iPhone to another
Step-by-step instructions on the how-to
- Ram Iyer
- 5 min read
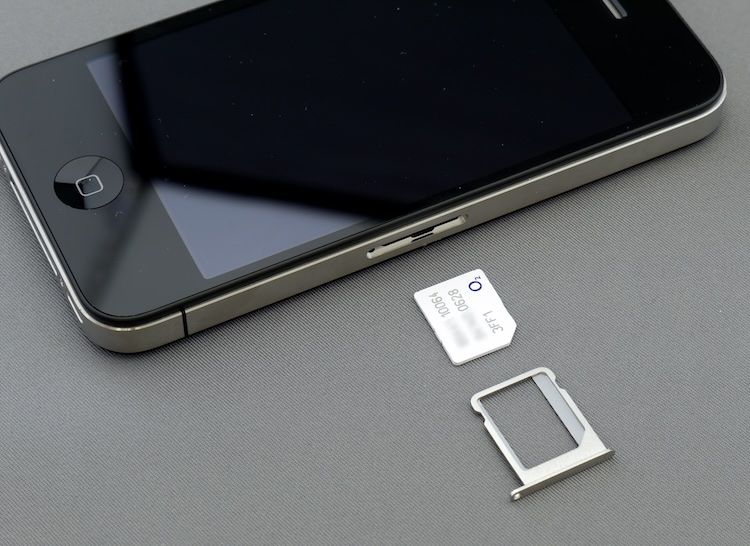
Table of contents
I have been using two SIMs on my iPhone for some time now. Since the iPhone comes with a single slot, the second SIM would need to be an eSIM.
This post focuses on Airtel because I use Airtel—been using Airtel since the early 2000s. Not that their cell service is absolutely fantastic, but you get used to something and do not want to switch unless there is a substantial difference in offering.
Airtel has detailed the steps to convert your physical SIM to an eSIM. The process is straightforward, provided you have an email address registered with Airtel.
Call up the customer care to get your email address registered with your number. This process may take a while, but it’s better to get this done beforehand. (This email address is different from the one you have on your Airtel Thanks app profile.) If you already are using an eSIM, chances are, you already have this set up. In such a case, make sure you have access to the mailbox (you know, ensure you haven’t forgotten the password, or that it’s configured in one of your devices, etc.)
A note of caution
I cannot stress this enough, but you must be more careful about your eSIM than your physical SIM. With a physical SIM, a SIM theft requires the physical presence of the thief; an eSIM has no such requirements. Be extremely careful when dealing with eSIM requests.
Also, note that no service provider actively asks you to convert to an eSIM. If you receive calls from people claiming they are from Airtel or Jio or Vodafone Idea, and that they would like you to “try out” or “upgrade” to an eSIM, decline it upfront—it’s likely to be a scam. The customer must initiate the conversion process out of his or her will.
Also, if you get to know of an attempt to convert to an eSIM, do not panic. Call up your service provider and let them know about this. Airtel’s eSIM page has the steps to abort an unsolicited SIM conversion. You will receive a message about the SIM change request anyway; the message will contain the steps to abort this process.
With that out of the way, let us jump into transferring an eSIM from one iPhone to another.
The eSIM transfer process
Apple makes the process of going from one iPhone to another a cakewalk. All you have to do is unlock the old iPhone turn on the new iPhone while the old iPhone is nearby, scan the spinning ball of dots, and be on your way.
Many service providers across the world support the transfer of data plans (eSIMs) as part of this transfer process. Airtel (like, I think, all other Indian providers) isn’t among them. More likely a regulatory restriction rather than a technical challenge.
Do not reset the old iPhone yet
As soon as the data transfer completes from the old iPhone to the new iPhone, the old iPhone will ask for a factory reset.
Decline the factory reset.
Factory reset would delete the eSIM from the old iPhone, which would mean a total loss of the eSIM. You will have to go back to the Airtel store to get a new SIM by submitting your documents, and probably paying for the process.
Avoid all this hassle. Hold off on the reset. Let us get the eSIM working in the new phone first.
Keep the old iPhone aside, powered on.
Remove the transferred data plan
Pick up the new iPhone.
You may see the eSIM added as a data plan. But you will also get a notification complaining about an incomplete or unsupported transfer.
On the new iPhone, remove the transferred/failed data plan. Acknowledge the warning that deleting the data plan would result in total loss of the eSIM. This is a failed transfer, and you would have to remove this data plan anyway. Your data plan is safe and active in the old iPhone, provided you did not reset it.
Keep it aside.
In case you are tempted to use the old QR code you received by email, when you first did the conversion, well, know that this will not work. For security reasons, those QR codes are one-time-use-only.
Initiate data plan transfer
Treat the old eSIM as a physical SIM.
- Pick up the old iPhone which still has the data plan.
- Open Messages, pick the right data plan (number) under “from”. Send an SMS with your registered email address—
esim your.email.address@gmail.com. (Follow the steps as listed on the Airtel eSIM page.) - You will receive an SMS asking you to respond, confirming your intent to “convert to an eSIM” (transfer of eSIM, in case of Airtel, is technically treated as a conversion).
- You will then receive a call to confirm your intent to convert to an eSIM. Answer this call and confirm your intent. (I remembered to turn off my Focus mode during this process.)
- Within minutes of answering the call, you should get an email on your registered email address, with a new QR code to scan. Scan this QR code using your camera; your iPhone will understand that you are trying to add a data plan.
- Complete the process of adding the data plan and selecting the right number for the right purposes (default call/message number, default data number, etc.).
- Wait for the new eSIM to get activated. It may take a few hours, and your old eSIM will work during this period, except for some restrictions on SMS.
- After a few hours, try calling the eSIM number, see where the call appears.
It is normal for you to get a “switched off” message sometime during this process. Go into your Network settings, turn off the newly added data plan and flip it back on. You will see the coverage indicator change at the top (right or left depending on the iPhone model).
At that point, you are good to go. Try a couple calls and SMSes on the new iPhone using the newly added data plan. SMS may take some time to resume. Once everything is okay, go ahead and reset the old iPhone (unless you do not want to).
I hope this helps clear the air about the eSIM transfer process. Remember that this is for Airtel on iPhone in India. The steps and the experience may vary a little on other combinations.
- Tags:
- Phones